

Counter contract you deployed in the quickstart, first from a Node.js script and then from a web page where anyone with a wallet can increment it.
What you’ll build
- A script that reads the counter and sends an
incrementtransaction with viem. - A React page built with wagmi that connects a browser wallet, shows the counter and has an Increment button.
defineChain. That way you see every value your app depends on. In your own projects you can import botChainTestnet from the Uzo SDK instead.
Prerequisites
- A deployed
Countercontract and its address, from the quickstart. - The
uzo-devwallet from the quickstart, with some tBOT in it. - Node.js 20.6 or later. This guide was tested with Node.js 24, viem 2.57 and wagmi 3.7.
- For part 2, a browser wallet such as MetaMask with BOT Chain testnet added. See Connect a wallet.
Part 1: a viem script
1
Create the project
2
Define the chain
This tells viem everything it needs to know about BOT Chain testnet.The
chain.js
multicall3 address is the one BOT Chain deploys on both networks. Viem uses it to batch reads. The usual Multicall3 address used on other chains is not deployed on testnet, so don’t skip this field.3
Add the contract ABI
The ABI tells viem which functions the contract has. Foundry wrote the full ABI to
out/Counter.sol/Counter.json in your quickstart project. For this guide you only need these three functions:counter.js
4
Set your environment variables
The script reads your contract address and private key from a Create a file named
.env file, so they never appear in your code.Export the private key of your uzo-dev testnet wallet. Cast asks for the keystore password:.env and paste in your values:.env
5
Read the counter
A public client reads from the chain. Reading is free and doesn’t need a wallet.Run it. The Your block number will be higher. The
read.js
--env-file flag loads your .env file:Output
n means the value is a JavaScript BigInt.6
Send a transaction
A wallet client signs and sends transactions with your key.The script prints a BOTScan link, waits about a second for the block, then prints the new value:
write.js
Output
Part 2: a wagmi page
Now give the contract a user interface. Visitors connect their own wallet, so this app needs no private key.1
Create a React app
2
Configure wagmi
This file defines the chain (the same values as
chain.js) and creates the wagmi config. The injected connector works with MetaMask and other browser wallets.src/wagmi.ts
3
Add the contract
Vite exposes variables that start with
VITE_ to your frontend. A contract address is public, so it’s safe here..env.local
src/counter.ts
as const lets TypeScript check your function names and argument types.4
Wrap the app in providers
Replace
src/main.tsx:src/main.tsx
5
Build the page
Replace Most browser wallets announce themselves to the page, so wagmi lists each one by name with its icon. If you have two wallets installed, you see two buttons. The generic 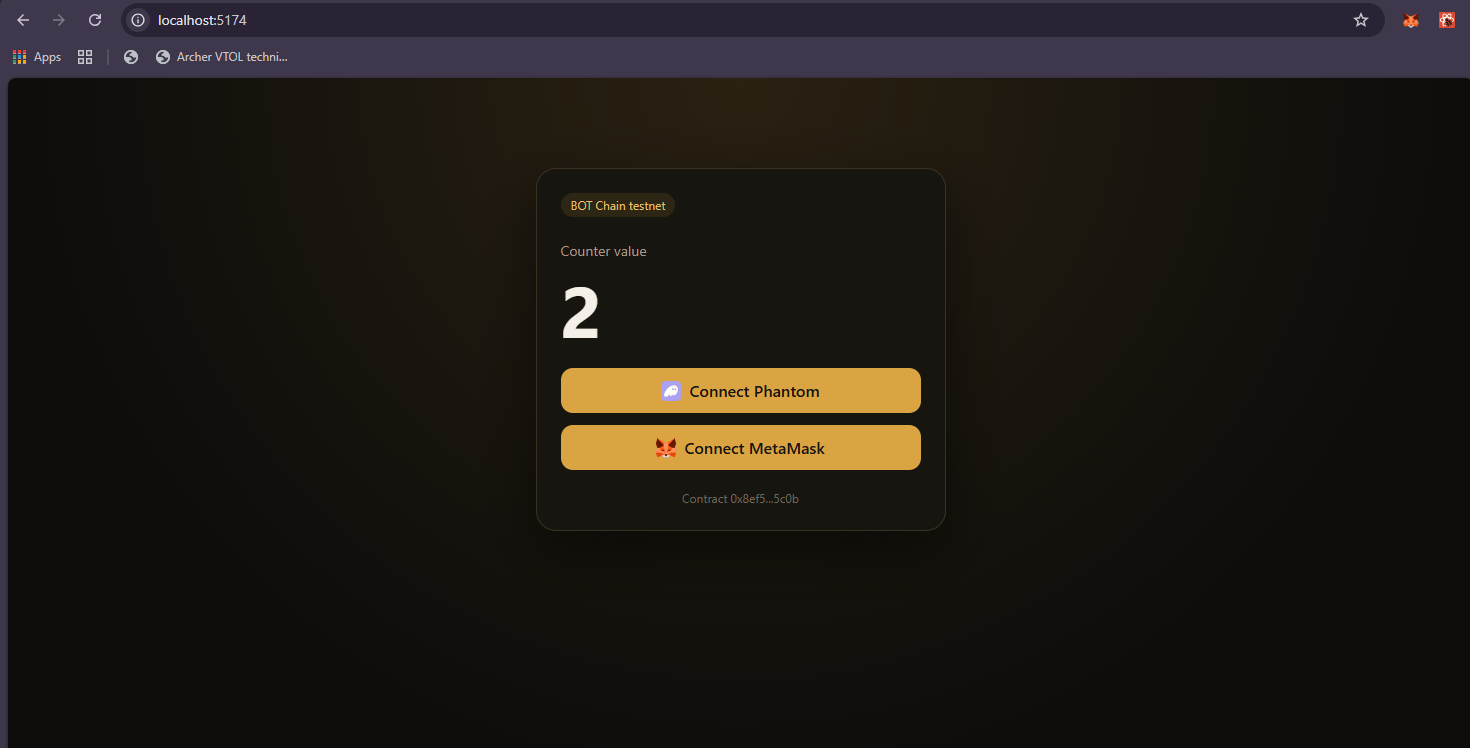
src/App.tsx:src/App.tsx
injected connector from wagmi.ts only shows, as Connect wallet, when no wallet announces itself.src/App.css to style the page:src/App.css
6
Run it
http://localhost:5173.Verify it worked
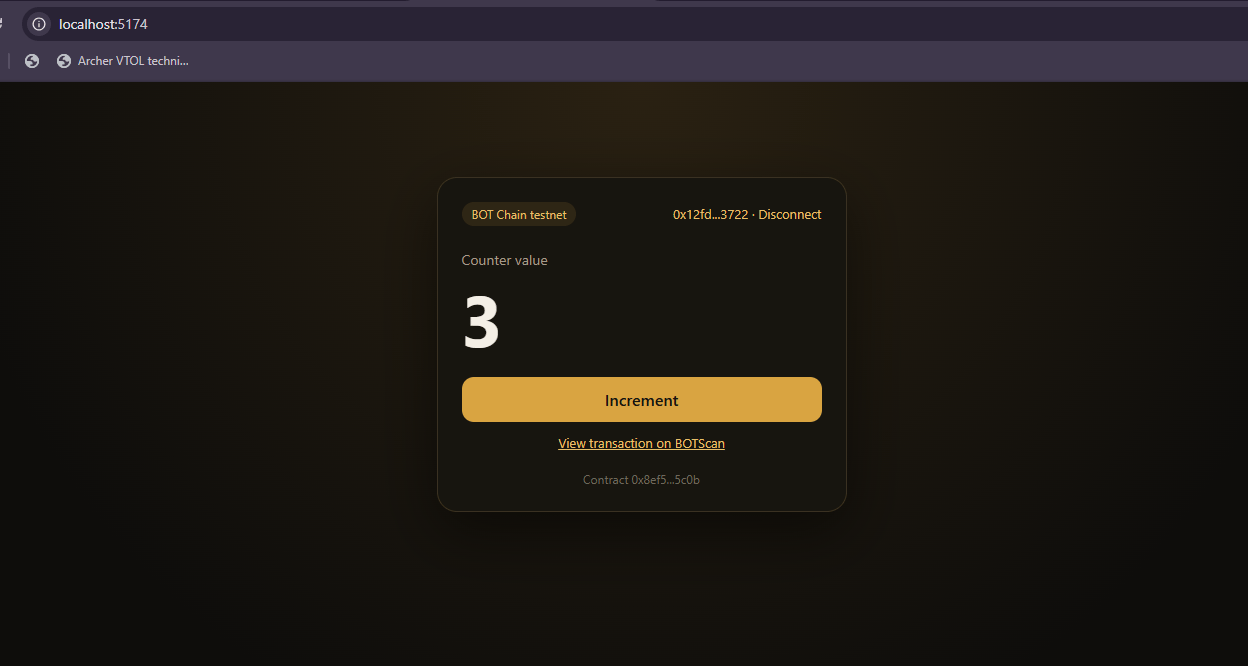
- The page shows the same counter value that
read.jsprinted. - Click Connect with your wallet’s name, then approve in your wallet.
- Click Increment and confirm. After about a second the value goes up by one.
- The View transaction on BOTScan link opens your transaction.
Troubleshooting
InvalidAddressError or Address "undefined" is invalid
InvalidAddressError or Address "undefined" is invalid
The script couldn’t find
COUNTER_ADDRESS. Run it with node --env-file=.env, and check that .env is in the folder you’re running from. In the React app, restart npm run dev after creating .env.local, and check that the name starts with VITE_.The contract function "number" returned no data ("0x")
The contract function "number" returned no data ("0x")
There is no
Counter contract at that address on testnet. Check that you copied the Deployed to address from the quickstart, not your wallet address or the transaction hash.invalid private key, expected hex or 32 bytes
invalid private key, expected hex or 32 bytes
PRIVATE_KEY must be 64 hex characters with a 0x prefix. Copy it again from cast wallet decrypt-keystore uzo-dev.Clicking Connect wallet does nothing
Clicking Connect wallet does nothing
That button is the generic
injected connector, which needs a browser wallet extension. Without one, the button still appears but nothing happens when you click it. Install MetaMask or another EVM wallet and reload the page.The wallet shows the wrong network or a chain mismatch warning
The wallet shows the wrong network or a chain mismatch warning
Click Switch to BOT Chain testnet. If your wallet doesn’t know chain 968 yet, add it first using the values in Connect a wallet.
Next steps
wagmi setup
Configure wagmi for both networks in a real project.
Read events without getLogs
Show contract history on BOT Chain.
Send transactions
Gas, errors and confirmations in more depth.
Networks
Every chain value in one table.